
What is CI/CD? and HOW TO INSTALL JENKINS ON CENTOS 7 / RHEL


Jenkins is open source Java-based automation server that can easily set the CI/CD pipeline.

What is CI/CD?

Continuous Integration (CI) is the process of automating the build and test code whenever a team member committed to the version control changes. Continuous Delivery (CD) is the process of building, testing, configuration, and deployment into the production environment in the building.

This blog will use the official Jenkins repositories and the steps for installing Jenkins on CentOS 7 system.


Prerequisites

Make sure you are logged in as a user with sudo privileges.

Installing Jenkins

Before start Install Java

# sudo yum install java-1.8.0-openjdk.x86_64 java-1.8.0-openjdk-devel.x86_64

– Once the installation is completed, you can check the installed version using the following command:

# java -version


Next, Jenkins installation commands

# sudo curl --silent --location http://pkg.jenkins-ci.org/redhat-stable/jenkins.repo | sudo tee /etc/yum.repos.d/jenkins.repo

# sudo rpm --import https://jenkins-ci.org/redhat/jenkins-ci.org.key


# sudo yum install jenkins

# systemctl enable jenkins
# systemctl start jenkins


Last, Setting Up Jenkins


Open your browser and type your domain or IP address followed by port 8080:

http://your_ip_or_domain:8080

sudo cat /var/lib/jenkins/secrets/initialAdminPassword


Copy the password from initialAdminPassword file, paste it into the Administrator password field and click Continue.

Click on the Install suggested plugins box,


Once the installation is complete, you will be prompted to set up the first administrative user. Fill out all required information and click Save and Continue.


On the next page you will be asked to set the URL for the Jenkins instance. The URL filed will be populated with an automatically generated URL . To complete the setup confirm the URL by clicking on the Save and Finish button.


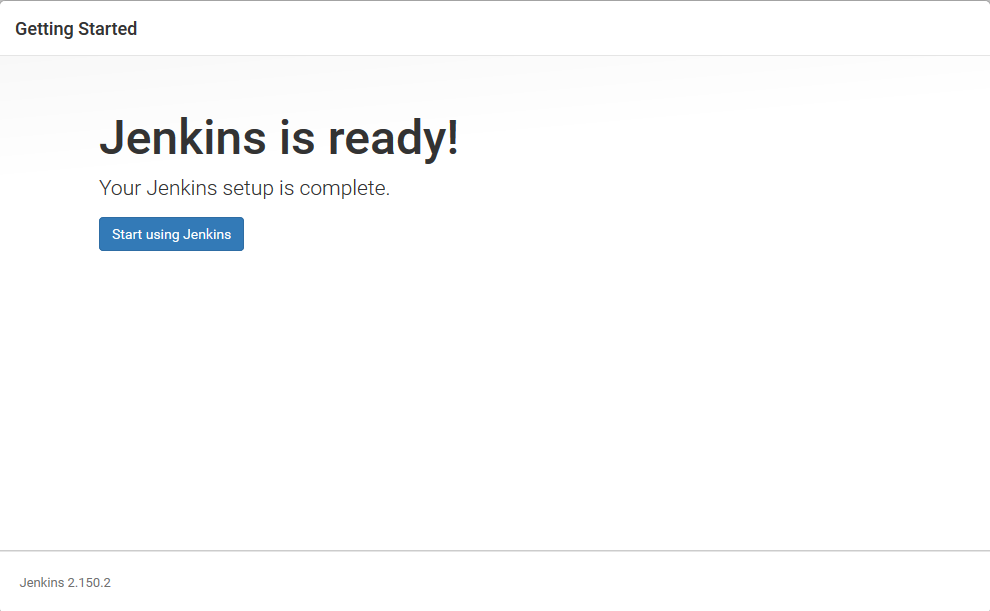
Finally, click on the Start using Jenkins button and you will be redirected to the Jenkins dashboard logged in as the admin user you have created in one of the previous steps.


Welcome to Jenkins!


 Thanks for being here : Need help for INSTALL JENKINS .

Comments

Popular posts from this blog

How to Speedup your WordPress site with Amazon CloudFront.

Introduction A WordPress performance is quite excellent . The number of WordPress plugins to handle performance is such evidence. But the easiest way to improve your user experience is to accelerate the entire WordPress website using CloudFront. This will help you not only improve site response time reduces the necessary infrastructure, reducing the load on the Web server, so you can reduce the total cost of the infrastructure works WordPress. CloudFront is actually a site can greatly help your site to respond to unexpected load when gained popularity. Today this post is to clarify the method of providing a reasonable standard configuration on the WordPress website or blog. How does CloudFront help? Amazon CloudFront is to improve the user's experience accessing the Web site in several ways: 1.  Anycast DNS is to ensure that customers are routed to the nearest edge location. 2.  The cached content is available to users at the edge positi...

What is a cron in Linux?

Information The cron utility is a Linux program that schedules a command or script on  Linux server  or system  to run automatically at a specific date  and time . C ron jobs include three  Elements: The action   or the output of the script . It’s depending on what the script). The cron script to be executed or called The command executes the script on a recurring basis. It’s usually defined in web host panel. In VPS and Dedicated Server  run a cron job as often as you wish but In Shared and Reseller   DO NOT run a cron job more frequently than every 15 minutes (it’s  limitation of cron ). Timing  patent of cron Five  part of the cron job 1.  M inute  2. H our  3. D ay of month  4. M onth  5. D ay of week Examples: This will run on Sunday , every hour (24 times in one day, but only on Sundays ): 0 * * * 1 command E very 5 minutes: */5 * * * * comm...

Serverpilot : Easiest way to Setup | Manage | Secure your PHP Website with Amazon Cloud EC2 Servers

ServerPilot is the easiest way to run PHP applications such as Laravel, Yii, Coordinator, Magento, WordPress on Amazon EC2 servers to keep your server secure. If you're not a sysadmin, you should use a developer-friendly environment  with ServerPilot. 1 st  Setup EC2 Instance. 2 nd  Connect EC2 Server to ServerPilot Setup EC2 Instance L og in to the  AWS Management Console .   Once logged in, click on EC2 . Then click Instances in the left menu and then click Instance Launch button. The instance creation tool starts. Now, select Ubuntu Server 16.04 LTS 64-bit or Ubuntu Server 18.04 LTS 64-bit as your Amazon Machine Image (AMI). After Select AMI Please check My blog in 2 nd  point Configure your instance  from Step 2 to S tep 6. Click Here...... Configure the Security Group You can see the name of the security group for your instance in the instance details screenshot above (in this case, it's "laun...